CLI-based access
Estimated reading time: 5 minutesThis topic applies to Docker Enterprise.
The Docker Enterprise platform business, including products, customers, and employees, has been acquired by Mirantis, inc., effective 13-November-2019. For more information on the acquisition and how it may affect you and your business, refer to the Docker Enterprise Customer FAQ.
With Universal Control Plane you can continue using the tools you know and love like the Docker CLI client and kubectl. You just need to download and use a UCP client bundle.
A client bundle contains a private and public key pair that authorizes your requests in UCP. It also contains utility scripts you can use to configure your Docker and kubectl client tools to talk to your UCP deployment.
Get the Docker CLI client
Download the Docker CLI client by using the UCP web UI. The web UI ensures that you have the right version of the CLI tools for the current version of UCP.
-
From the dashboard, click Learn more in the Docker CLI card at the bottom of the page.
-
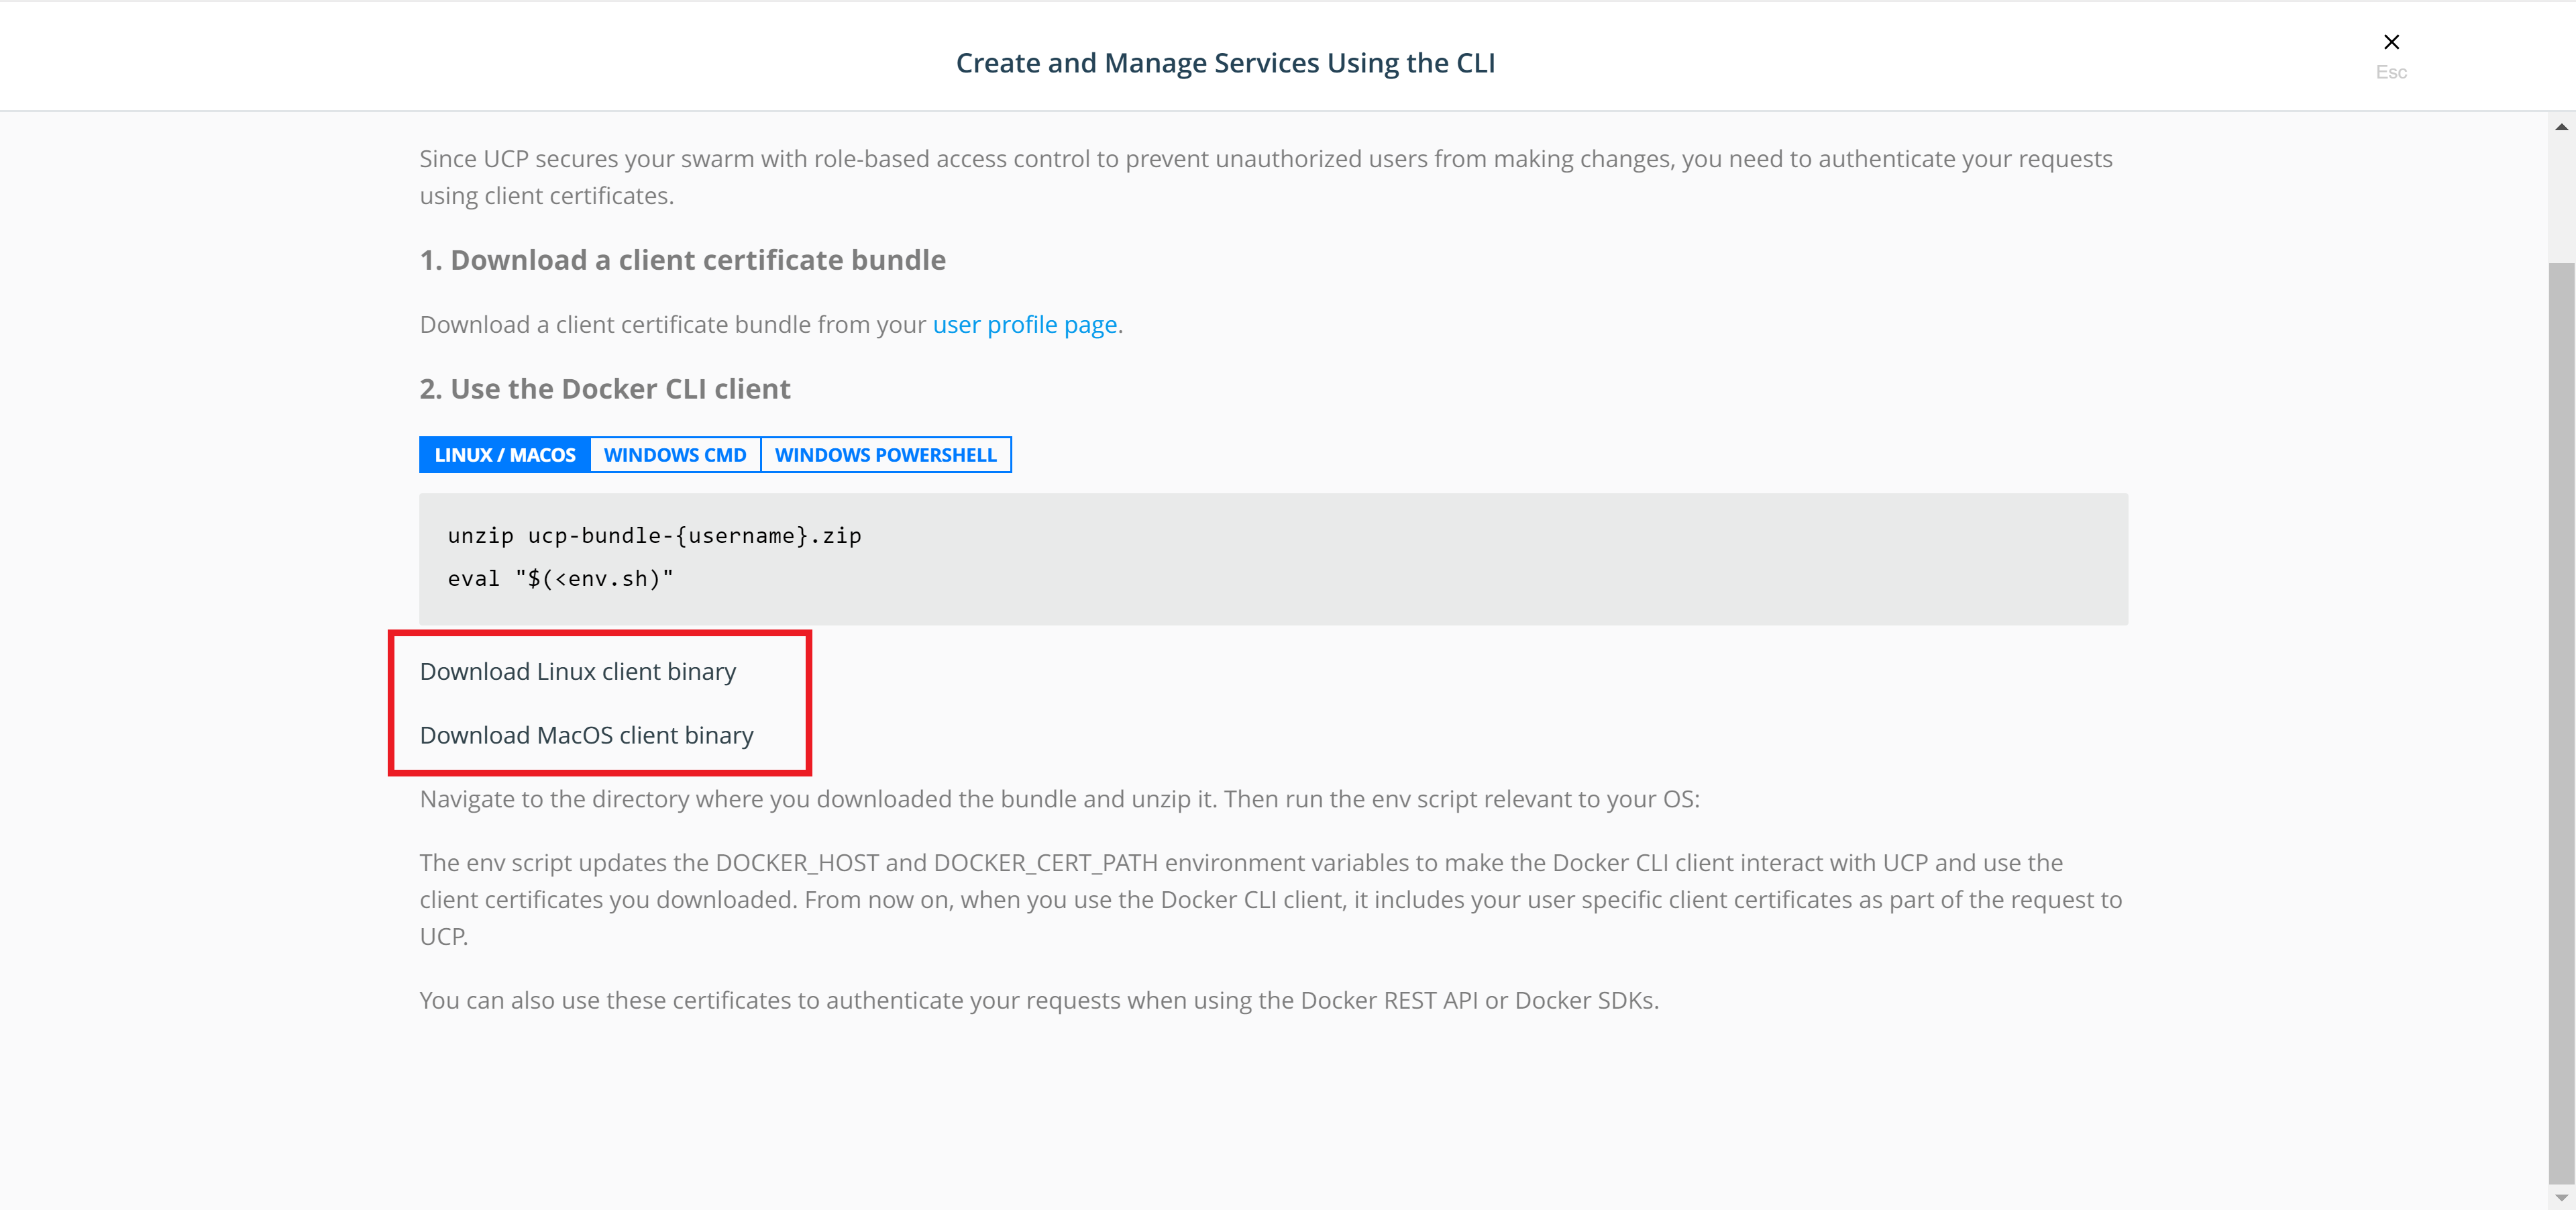
On the Create and manage services using the CLI page, click Download Linux client binary or Download MacOS client binary.
-
Unzip the
dockerarchive.
Download client certificates
To use the Docker CLI with UCP, download a client certificate bundle by using the UCP web UI.
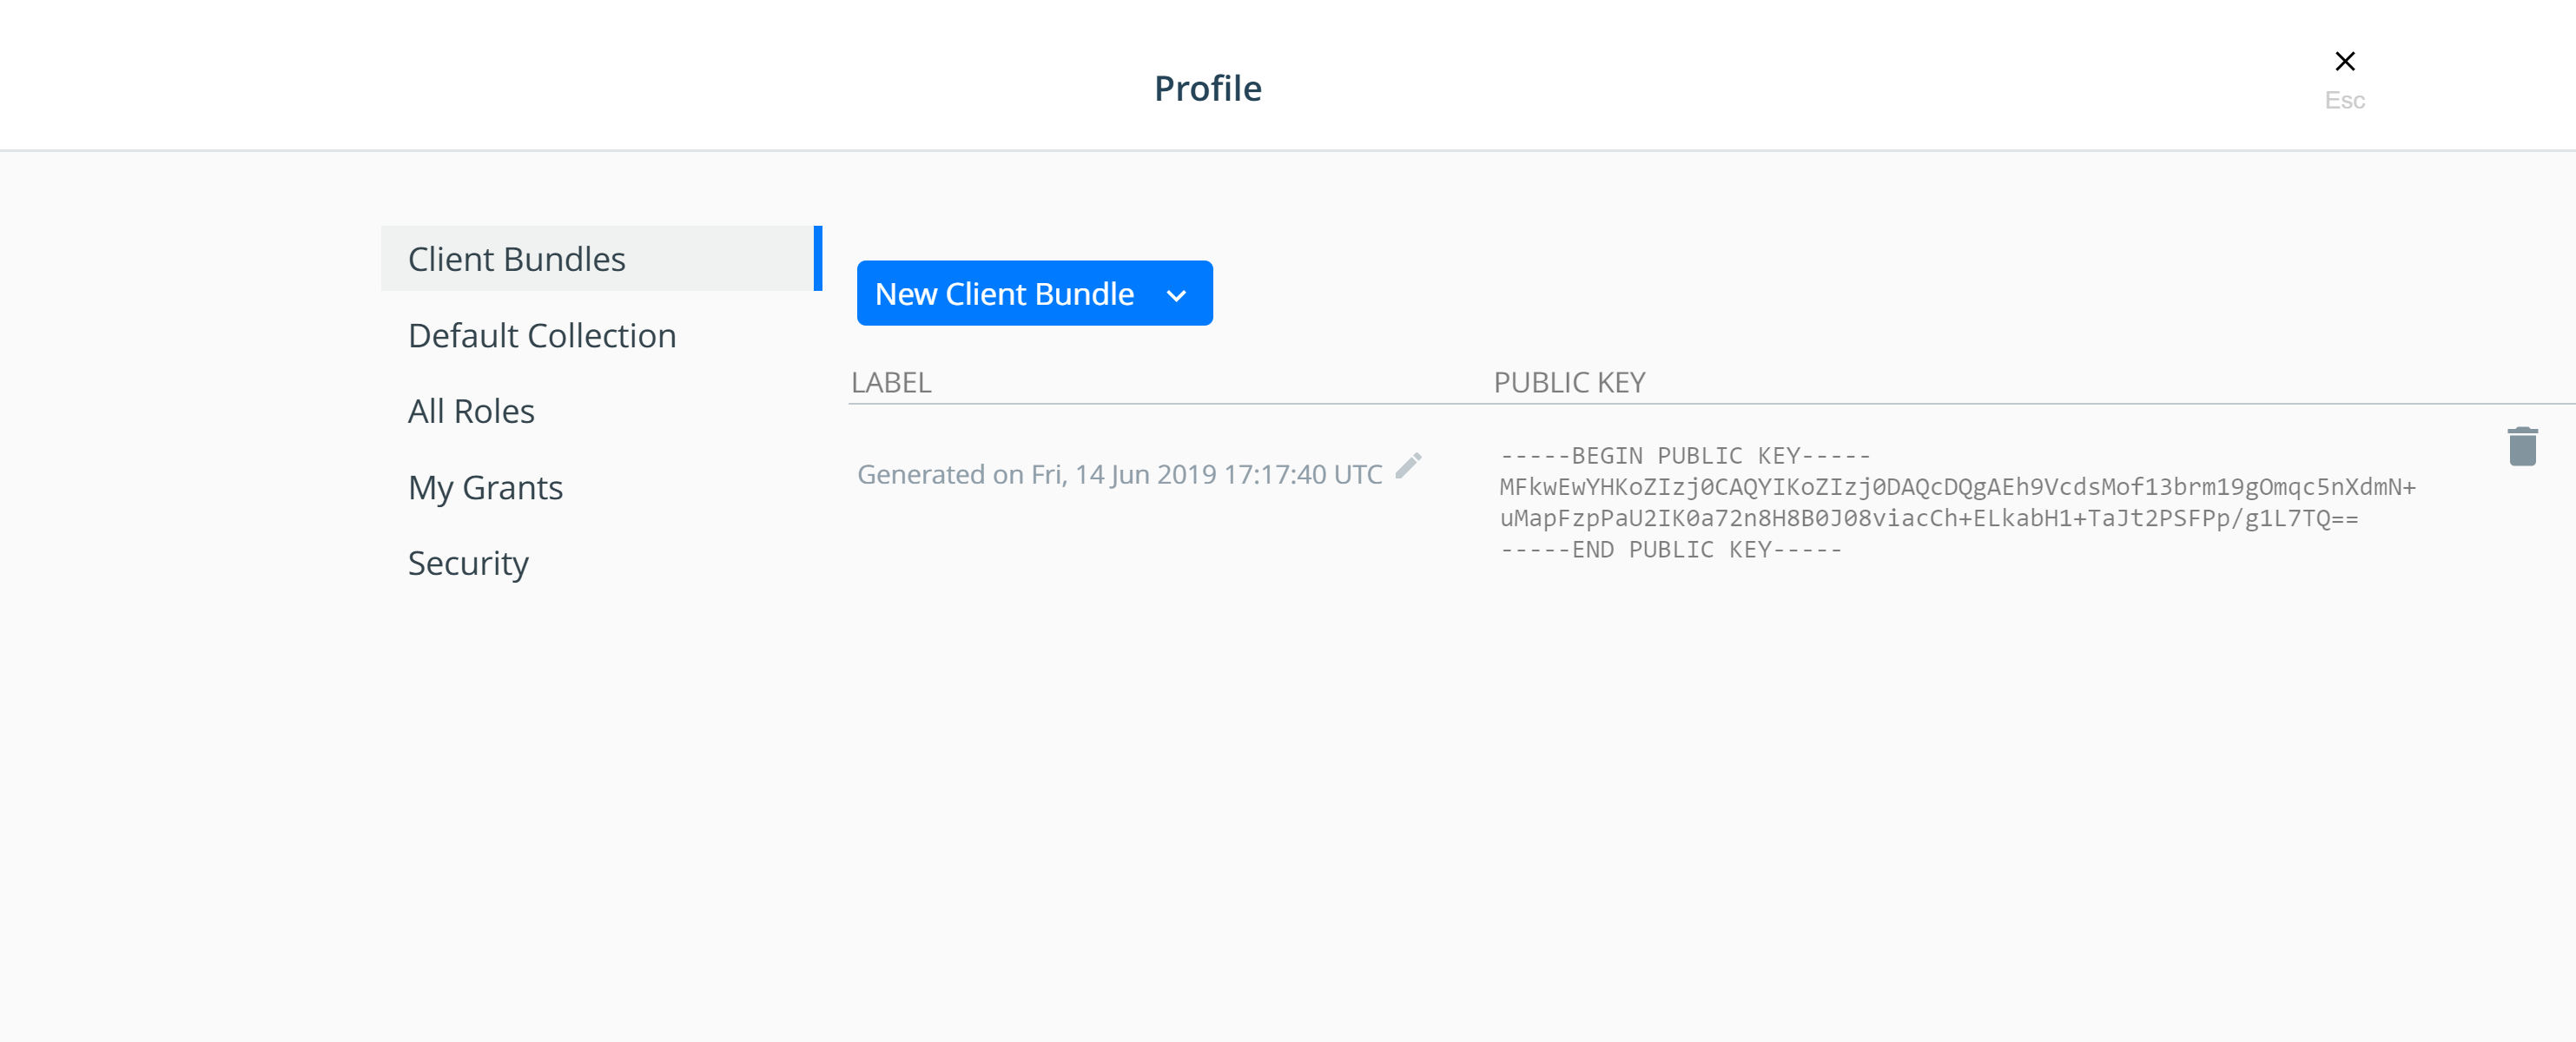
- Navigate to the My Profile page.
-
In the left pane, click Client Bundles and choose New Client Bundle to download the certificate bundle.
Use client certificates
Once you’ve downloaded a client certificate bundle to your local computer, you can use it to authenticate your requests.
Navigate to the directory where you downloaded the user bundle, and extract the zip file into a directory. Then use the utility script appropriate for your system:
cd client-bundle && eval "$(<env.sh)"
REM Run this from an elevated prompt session
cd client-bundle && env.cmd
# Run this from an elevated PowerShell session
cd client-bundle; Import-Module .\env.ps1
The client bundle utility scripts update the environment variables
DOCKER_HOST to make your client tools communicate with your UCP deployment,
and the DOCKER_CERT_PATH environment variable to use the client certificates
that are included in the client bundle you downloaded. The utility scripts also
run the kubectl config command to configure kubectl.
To confirm that your client tools are now communicating with UCP, run:
docker version --format '{{.Server.Version}}'
kubectl config current-context
The expected Docker server version starts with ucp/, and the expected
kubectl context name starts with ucp_.
You can now use the Docker and kubectl clients to create resources in UCP.
Use client certificates with Docker contexts
In Docker Enterprise 3.0, new files are contained in the UCP bundle. These changes support
the use of .zip files with docker context import and allow you to directly change
your context using the bundle .zip file. Navigate to the directory where you downloaded
the user bundle and use docker context import to add the new context:
cd client-bundle && docker context import myucp ucp-bundle-$USER.zip"
Note: Refer to Working with Contexts for more information on using Docker contexts.
Client certificates for administrators
UCP issues different types of certificates depending on the user:
- User certificate bundles: only allow running docker commands through a UCP manager node.
- Admin user certificate bundles: allow running docker commands on the Docker Engine of any node.
Download client certificates by using the REST API
You can also download client bundles by using the
UCP REST API. In this example,
we use curl to make the web requests to the API, jq to parse the
responses, and unzip to unpack the zip archive.
To install these tools on an Ubuntu distribution, you can run:
sudo apt-get update && sudo apt-get install curl jq unzip
Then you get an authentication token from UCP and use it to download the client certificates.
# Create an environment variable with the user security token
AUTHTOKEN=$(curl -sk -d '{"username":"<username>","password":"<password>"}' https://<ucp-ip>/auth/login | jq -r .auth_token)

# Download the client certificate bundle
curl -k -H "Authorization: Bearer $AUTHTOKEN" https://<ucp-ip>/api/clientbundle -o bundle.zip

# Unzip the bundle.
unzip bundle.zip

# Run the utility script.
eval "$(<env.sh)"

# Confirm that you can see UCP containers:
docker ps -af state=running
On Windows Server 2016, open an elevated PowerShell prompt and run:
$AUTHTOKEN=((Invoke-WebRequest -Body '{"username":"<username>", "password":"<password>"}' -Uri https://`<ucp-ip`>/auth/login -Method POST).Content)|ConvertFrom-Json|select auth_token -ExpandProperty auth_token

[io.file]::WriteAllBytes("ucp-bundle.zip", ((Invoke-WebRequest -Uri https://`<ucp-ip`>/api/clientbundle -Headers @{"Authorization"="Bearer $AUTHTOKEN"}).Content))
Docker Build and UCP
When using a UCP client bundle and buildkit, follow the instructions provided in Restrict services to worker nodes to make sure that builds are not accidentally scheduled on manager nodes.
For additional information on ‘docker build’ and buildkit, refer to build command documentation and buildkit documentation.